I Wanted to Be a YouTuber, But…
I hated editing. I had great ideas for videos, but the thought of spending 10 hours in Adobe Premiere just to make a 5-minute clip was paralyzing. Then I learned how to use InVideo AI.
This tool changed everything for me. It creates the entire video—script, voiceover, stock footage, and subtitles—from a single text prompt. In this guide, I will show you exactly how to use InVideo AI to go from a blank screen to a published video in less than 10 minutes.
Disclosure: This post contains affiliate links. If you use these links to buy something, we may earn a commission.
Step 1: Sign Up and Choose Your Workflow
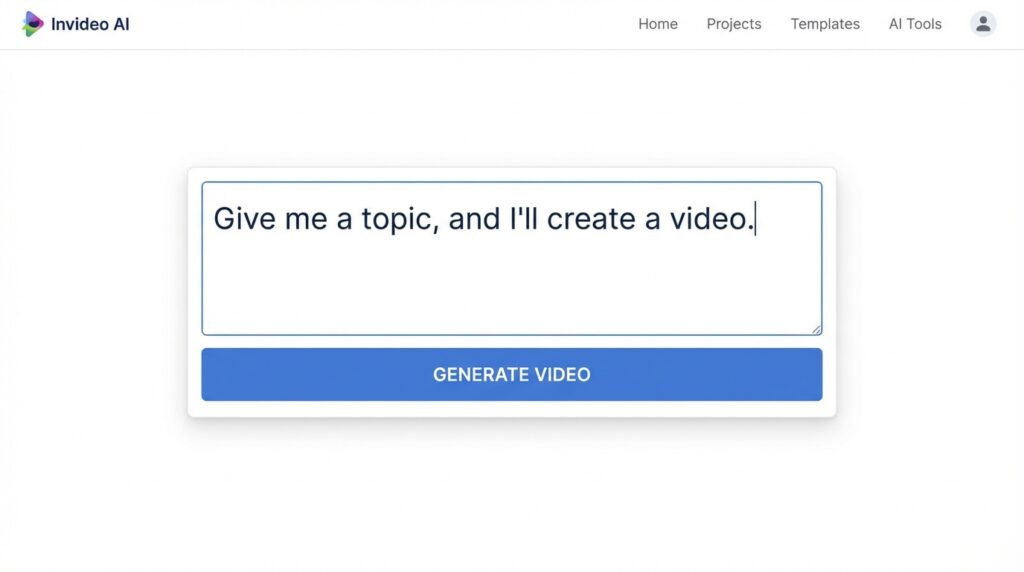
First, head over to the InVideo AI website. Knowing how to use InVideo AI starts with their free trial, which is generous enough to test the features.
Once you are logged in, you will see a simple dashboard. Unlike complex video editors that look like a spaceship control panel, InVideo looks like a chatbot. You will see a large text box asking you: “What kind of video do you want to create?”
Step 2: Write the Perfect Prompt
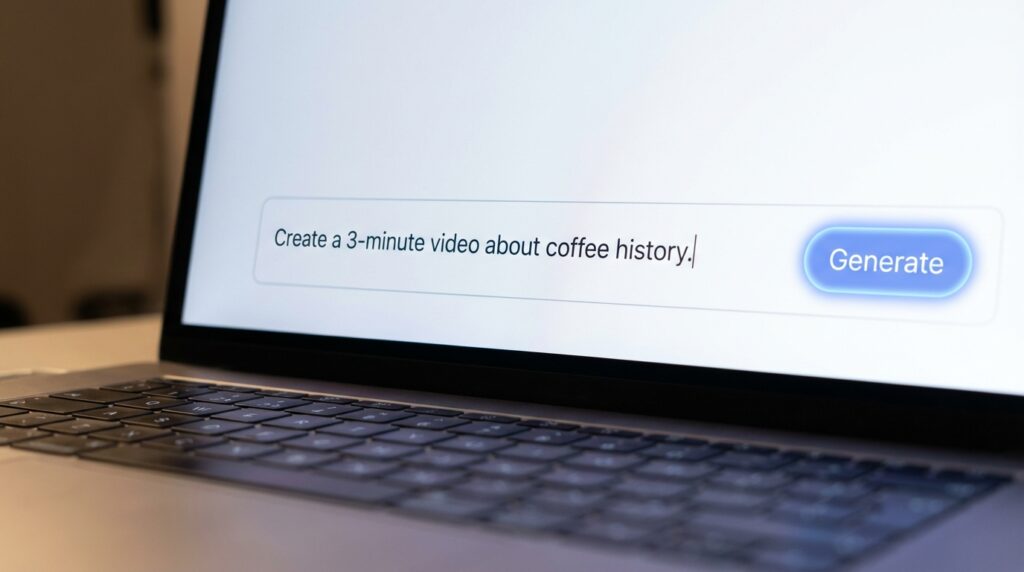
This is the most important part. The quality of your video depends on the quality of your prompt. Don’t just write “Make a video about dogs.”
Instead, be specific. Tell the AI the platform, the tone, and the duration. Here is a formula for a perfect prompt:
“Create a [Topic] video for [Platform] that is [Duration] long. The tone should be [Tone]. The voiceover should be a [Voice Type].”
For example: “Create a 3-minute educational video for YouTube about the history of coffee. The tone should be energetic and fun. The voiceover should be a young American male.”
Step 3: Generate and Review the Script
Once you hit “Generate,” InVideo AI will start working. But before it makes the video, it might ask you a few clarifying questions (like “Who is the audience?”).
Answer these, and the AI will generate the video. This usually takes 2-3 minutes. When it’s done, don’t just export it. Watch it. The AI is smart, but it’s not perfect. Check if the stock footage matches the script. Does the voice sound natural? Mastering how to use InVideo AI means knowing how to review the AI’s work critically.
Step 4: Edit with Text Commands
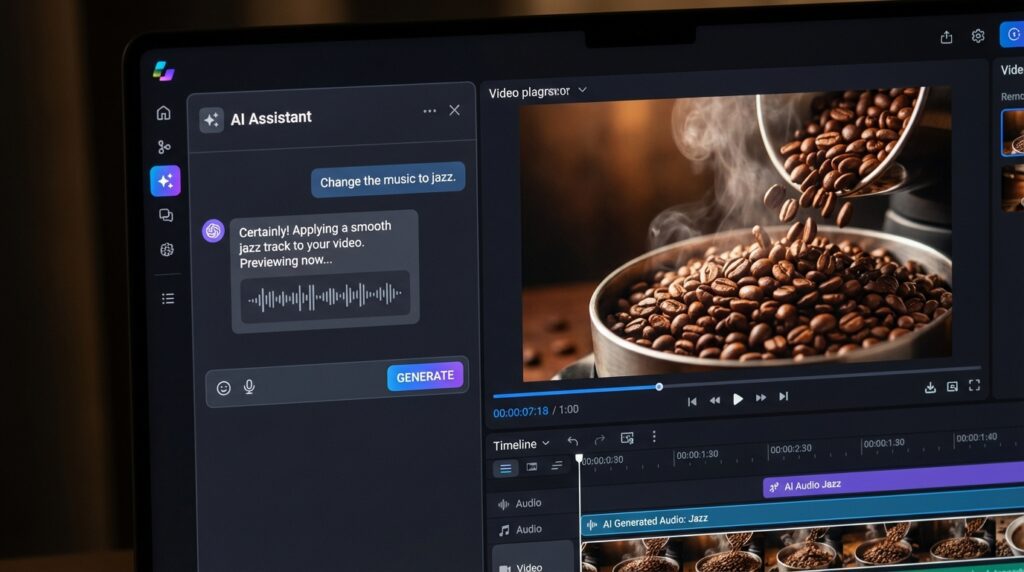
This is where InVideo shines. You don’t need to drag clips on a timeline. You can edit the video just by talking to the AI.
If you don’t like a specific clip, you can type in the edit box: “Change the clip at 0:15 to a video of a coffee bean roasting.” The AI will find a new stock video and replace it for you.
You can also say things like: “Make the video half as long” or “Change the voice to a British female.”
Step 5: Export and Upload
Once you are happy with your video, click “Export.”
For the best results on YouTube, make sure to export in 1080p resolution. Note that on the free plan, your video will have watermarks. If you are serious about building a channel, upgrading is essential.
Once exported, you can use the best social media management tools to schedule your video across all your platforms.
Summary: Now You Know How to Use InVideo AI
| Step | Action | Time Needed |
| 1. Sign Up | Create account & select workflow | 1 min |
| 2. Prompt | Describe your video idea | 2 mins |
| 3. Generate | AI builds the video | 3 mins |
| 4. Edit | Use text commands to fix clips | 5 mins |
| 5. Export | Download & publish | 2 mins |
My Honest Verdict 🥇
Is it worth the hype?
Yes. If you are a content creator, marketer, or educator, InVideo AI is the fastest way to turn text into video.
It won’t make a Hollywood movie, but for YouTube and social media, it is a productivity miracle.
How to Use InVideo AI: Create YouTube Videos in Minutes (2025)

A step-by-step guide and review of InVideo AI. We show you how to turn text into professional YouTube videos instantly. Learn about features, pricing, and video quality.
Price Currency: USD
Operating System: Web, iOS, Android
Application Category: MultimediaApplication
4.9